I recently came across something interesting on SLRLounge and decided to give it a go. The results were quite amazing!
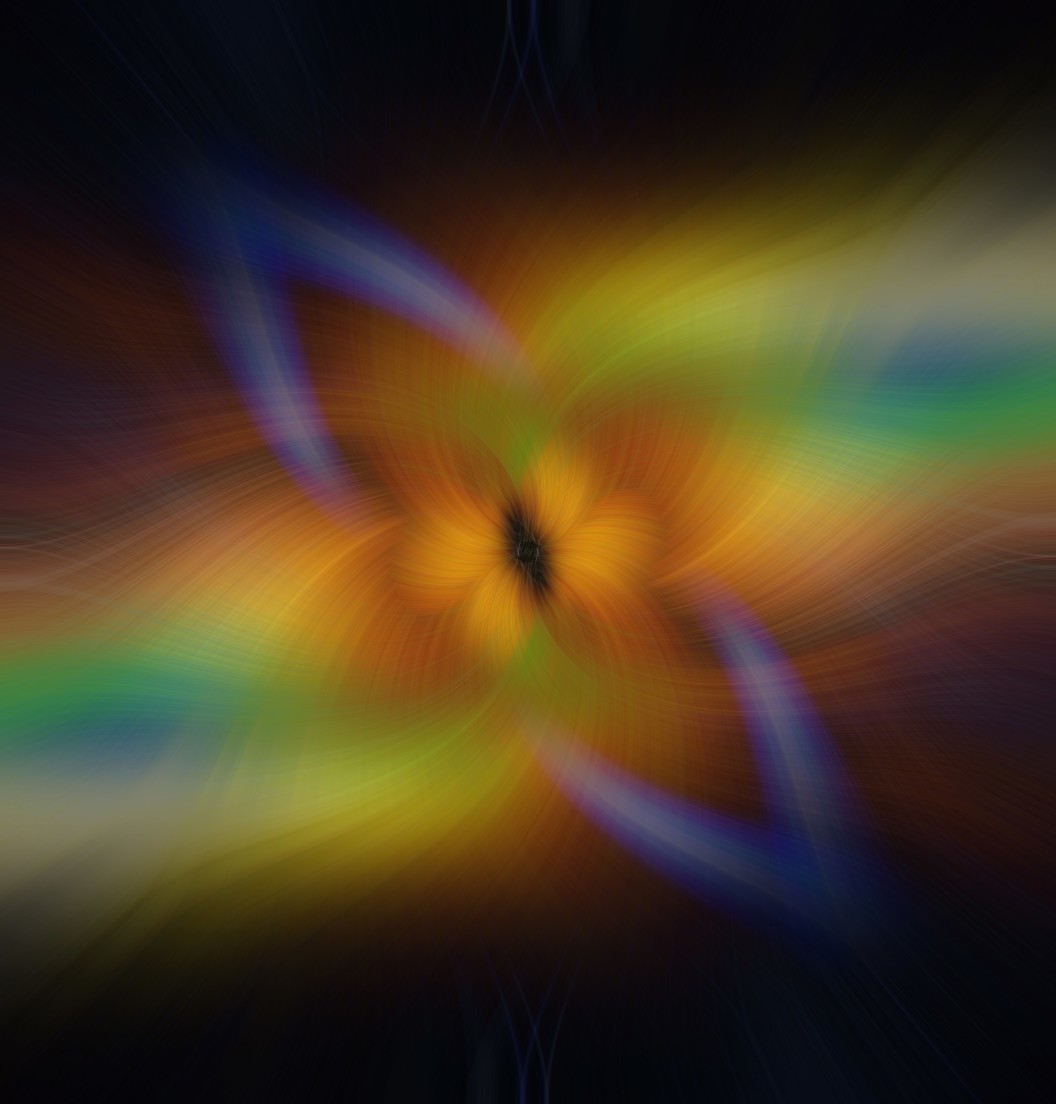
Twirls can turn average or old images you may have into great new works. For instance, the background image I’m currently using for the website, was created using an image I wasn’t happy to upload to my website. Twirls may seem like a lot of time and effort go into them, or that they may be quite complex, however, that couldn’t be further from the truth! They are quite simple to achieve, all you need to do is follow the steps below!
If you have any like my work or want to see what I’ve been up to, please check out and like/follow my website, my 500px, my Facebook, my Instagram and my Twitter.
Steps
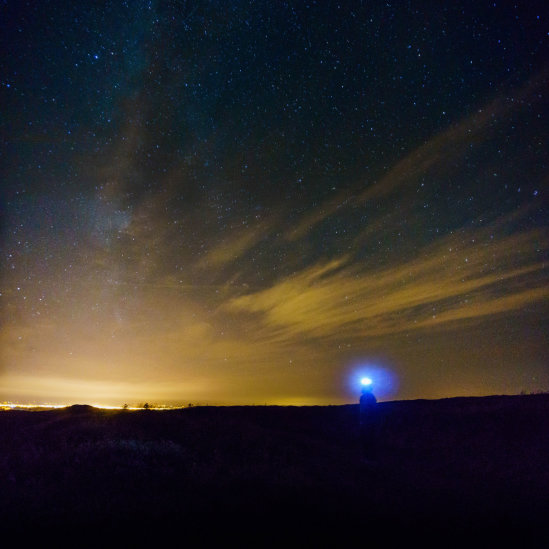
1.) Open your selected image in Photoshop
2.) Create a duplicate of your background layer with CTRL/CMD J(turn off visibility on background layer with the little eye icon). This will create a later called “Layer 1” above your background layer. Select “Layer 1”, go to Filter – Pixelate – Mezzotint. Make sure your mode is set to “Medium Lines”. Press OK.
3.) With “Layer 1” still selected, go to Filter – Blur – Radial Blur. Amount (100) – Blur Method (zoom) – Quality (best). Press OK.
4.) Repeat step 3 as many times as you like. 2 or 3 times is what I tend to go for.
5.) Create a duplicate of this layer with CTRL/CMD J. This will create a new layer called “Layer 2” directly above “Layer 1”.
6.) Select “Layer 1”. Then go to Filter – Distort – Twirl. In the Angle number box, you want to put in a positive value number. Put in 120 (you can try different numbers to get different results). Press OK.
7.) Select “Layer 2” . Then go to Filter – Distort – Twirl. In the Angle number box, you want to put in a negative value number this time. Put in -120 for now.
8.) With “Layer 2” selected, change the blend mode. In your layers palette, right above “Layer 2”, you will see the word “normal.” Click on that and it will show you a number of other options. This next bit is completely down to your personal preference. Everyone will like different things. I like Darken, Exclusion and Difference modes for Twirls. You might prefer something else!
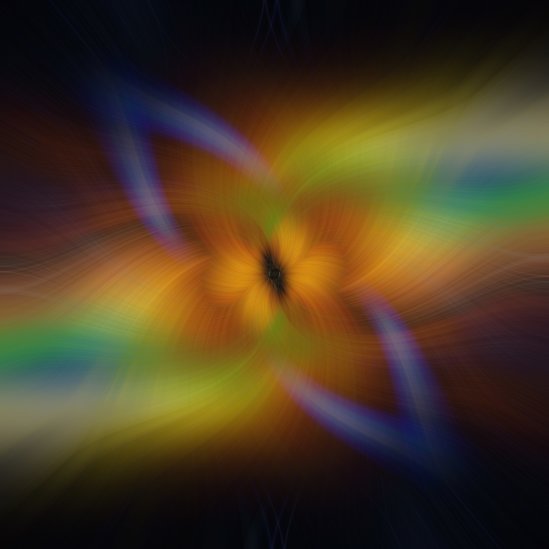
9.) Toggle the visibility of “Layer 1” and “Layer 2” to off. Turn the visibility of the background layer on. I couldn’t believe the end result came from the starting picture!
10.) You could try multiple different things such as flipping layers, messing with curves, multiple images and different blend modes. The possibilities are endless!
